How to Arrange a Wooden Flower Bouquet
Perhaps it's mother's day, your mom's birthday, or you've got a wedding coming up; either way, you need some flowers.
Flowers make for great gifts and decorations. After all, they smell lovely, they're gorgeous, and are a universal show of appreciation and affection.
Here's the issue, though: fresh flowers can get expensive. On average, a bouquet costs about $13 from some supermarkets. While $13 doesn't seem too bad, a bridal bouquet can reach over $900.
You probably don't have $900 to spend on flowers, so what do you do? Do you have to opt for another gift or centerpiece?
There is another alternative to fresh flowers - you can opt for wooden flower bouquets instead.
A wooden flower may seem strange, but wood flowers are comparatively more cost-efficient and have a strong DIY component.
That's right - you can construct wood flower bouquets on your own.
Curious? Keep reading, and we'll teach you all about wooden flowers and how to make these beautiful bouquets.

What Is A Wooden Flower?
Wood flowers (or Sola wood flowers) have become hugely popular, specifically among wedding florists, brides, home decorators, and crafters.
We said before that you could make wooden flower bouquets, but building the flowers themselves is possible. Sola flowers are still plants, but not the kind you often think of when it comes to flowers.
That one-of-a-kind sola bouquet you just crafted might not be made of real flowers, but it is made of an actual plant! And that plant is called the sola, or shola, plant–better known to botanists by its Latin name, Aeschynomene Aspera.
Given the delicate look of sola flowers, you might be mistaken in thinking sola flowers are made from the leaves of the sola plant. In fact, makers use the inside of the sola plant's stem.
The thin cream sheets are what you'd make the flowers of. Sometimes, though, the bark isn't removed from the sheets and result in dual-toned flowers called skin (or bark) flowers.
Sola wood flowers likely won't come with stems. Stemless buds are also known as "raw sola wood flowers." Wire stems can be purchased from local craft stores.
How Are Wooden Flowers Made?
Sola wood flowers are entirely handmade. People cut the shola into sheets, and the flowers are crafted from those wood slices by people. There are no mechanical processes involved whatsoever.
Dye skinned and skinless flowers can be colored to create a variety of hues. You can color wooden flowers by dip-dyeing or hand painting them.
Acrylic paint is the most common colorant due to its low price and wide range of colors.
Spray paint, watercolors, fabric dyes, and latex paint are also viable coloring options.
What Advantages Do Wood Flower Bouquets Have?
One of the primary advantages of choosing sola flowers is that they're cheaper than fresh flowers. The wood that makes these floral arrangements is easier to access, unlike fresh flowers.
Considering how difficult and unprofitable it is to grow flowers compared to other crops, farmers don't prioritize them. Consumers still want flowers, though, so there tend to be shortages.
Because there's not a lot of flowers ever being grown at once, they tend to be hard for stores and buyers to get.
The shortage of flowers means that the consumer will have to pay more for them also. Rarity always increases value.
Shola plants replenish themselves easily and rapidly, so they're a suitable replacement for fresh flowers.
We'll look at the average cost to put in perspective how much certain floral elements for a wedding can cost:
- Bridal bouquets - $510
- Bridesmaids bouquets - $60 each
- Flower girl crowns - $35
- Groom's boutonniere - $15
- Reception table-toppers - $1050
These five items alone already cost $1670, and remember, this is how much on average these floral arrangements could cost.
Wood Flowers Can Come In Various Colors
Wooden flowers can also come in any color - and we do mean any color. You could have golden roses sent to your mom for her birthday. If you want Navy green bluebells at your wedding, you can.
Sola flowers start as ivory, but there are no limits on what shade or hue you can have for any occasion. Weddings will be exceptionally easier to coordinate if you decide on sola flowers.
Wood Flower Bouquets Are Allergy-Friendly
Floral allergy flare-ups are the result of grass and tree pollen, but flowers also play a part. Sola flowers are made of wood, so they don't produce pollen.
We're not saying that wood can't cause allergies; it's just that most woods aren't toxic. As a result, wood allergies aren't as common and, in most cases, take time to develop.
Wooden Bouquets Are Eco-Friendly
Fresh flowers are delightful to have around, but harvesting them doesn't do the environment any favors. Ground flowers help bees by providing pollen for other plants and enriching soil.
Farmers and gardeners can instead use water for other endeavors like watering food crops. Wooden flowers help cut down on water waste.
Sola wood is also biodegradable, so it won't leave hazardous remnants if you dispose of your flowers.
Sola Wood Flowers Last Much Longer
Traditional flowers wilt in three to five days. There are ways to increase their vase life, but ultimately, they will die. Technically, sola wood flowers can last forever.
We say "technically" because you can destroy wood flowers. Part of why sola wood bouquets are so beautiful is their frailty. They're hardier than traditional flowers but can still be easily damaged.
If you want to keep your wooden flowers for a long time, store them somewhere dark and cool.
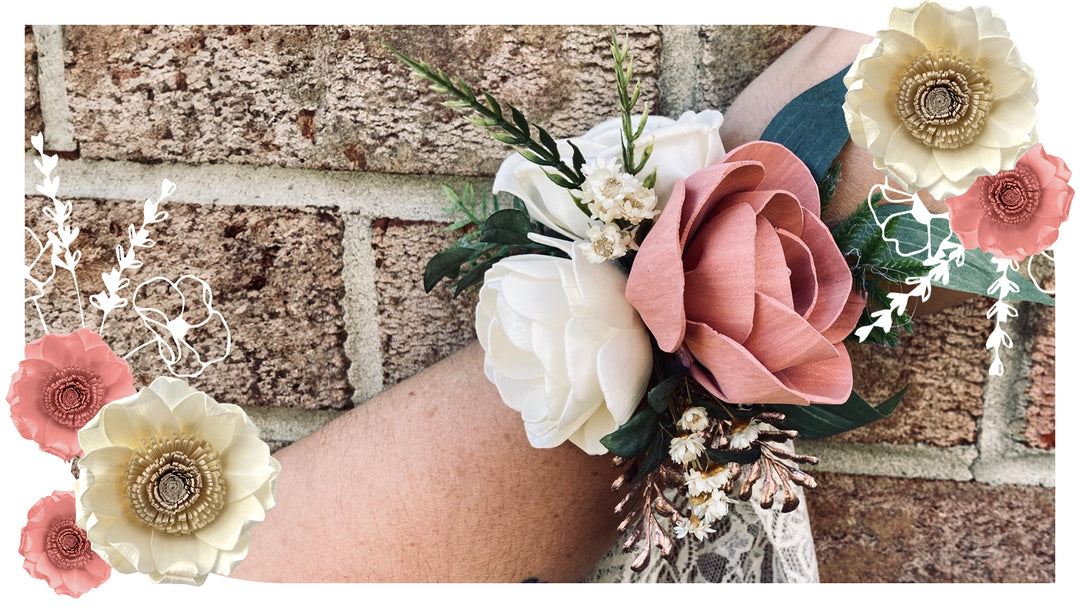
Wood Flower Bouquets Offer Plenty of Customization
There is an art to flower arrangement, but you can arrange your bouquets with any colors and flowers you want. We'd mentioned how well wood flowers lend themselves to DIY crafting.
Even the softest wood is more rigid than fresh flowers, and sola can be dyed any color. The average person won't need quite the practiced hand that a florist would.
You can match maroon and lavender-colored roses if you like. A bouquet of polka-dotted peonies is theoretically an available option. Your flowers are limited only by your imagination, honestly.

You Can Put Sola Flowers Anywhere
Containers for fresh flowers take a lot of consideration. You have to choose something that can hold water. A wood flower bouquet doesn't require this consideration, however.
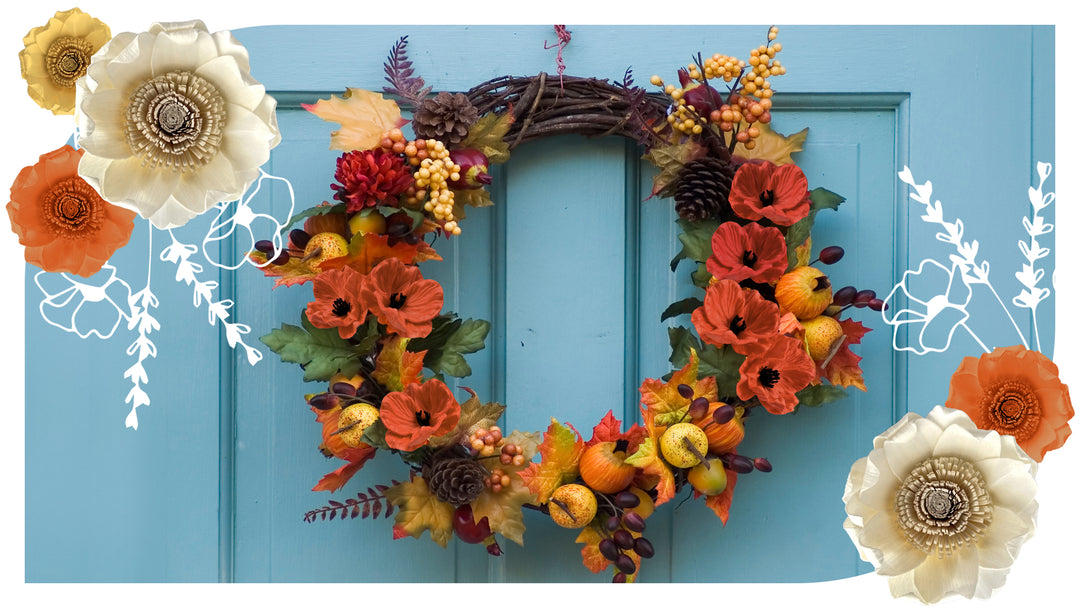
You can put sola wood flowers in anything. If you want a wooden farmhouse theme for your wedding, try wooden boxes. If you want a more homey style, you can use a teapot.
Terracotta pots are viable choices no matter what kind of wood flowers you've got. Terracotta pots have no internal seal, so the soil dries rapidly. Wooden flowers won't need hydration or soil.
The only limitation you have for displaying wood flowers is that they can't be in locations too sunny.
Direct sunlight can fade the color of your wooden flowers.
How Realistic Are Wooden Flowers?
How real your sola flowers look depends on the quality. More inexpensive sola flowers won't necessarily look bad, but they may not look as real as fresh flowers.
Higher quality sola wood flowers, however, can look indistinguishable from their freshly cut counterparts.
You won't have to worry about the bouquets feeling wooden or stiff, regardless of the quality. Sola wood's spongy centers have a soft and malleable feel to them.
How Do You Arrange A Wooden Flower Bouquet?
The first thing you should do is gather all your materials and tools. If you've already got everything near you, you won't have to scramble to find them during your bouquet crafting.
Here's the list of materials and tools you'll need:
- Wooden flowers
- Filler & Greenery
- Wire stems
- Stem covers
- Hot glue
- Handle wrapper
- Floral tape
- Glue gun
- Stem clippers
Putting your bouquet together doesn't take many items, and it won't take too much work either. The steps below will show how simple arranging sola flowers can be.
Step One: Arrange Your Materials and Tools
Your first step should be to plan what colors (if any) you're going to use. Also, have at least a general idea of how many flowers you want to have before starting your crafting project.
After the planning stage, gather all your tools and materials and arrange them to be easily accessible.
Try not to have all your tools clustered together, so you're not stuck digging through a pile for what you need. It's also best to have your glue gun plugged up. You don't want to be stuck waiting for the adhesive to melt.
Step Two: Prep The Filler Flowers and Tape
Having the tape and filler ready ahead of time makes the arranging process more streamlined and less stressful.
Typically, the first step is cutting tape. Your tape pieces should be in increments of about 12 inches. Precut tape will be easier to apply to the bouquet when needed.
The second task is to get your filler & greenery ready. If you weren't aware, filler plants have distinct flower clusters on lone stems or the heads of flowers.
Filler plants are also known as "traditional flowers" because they fill space between the larger, more attention-grabbing flowers. Baby's Breath and Poppies are popular filler flowers.
Transitional flowers come in bulk arrangements, so you'll need to break them into smaller portions. Filler bunches can come in any size. Professionals may opt for smaller groups that end in a single floral head.
You can make your transitional flower groups as big or small as you wish.
Step Three: Add Your Flower Stems
Hopefully, you had your glue gun on by this point. Otherwise, your work is going to come to a standstill.
If your glue is already hot, then you can get to gluing. Take whichever flower you intend to start with and add a small dot of glue to the flower's backside base.
Twist the stem into the flower's base. Be careful that you don't burn yourself and keep the twisting motion gentle. The branch will only slip into the base about half an inch.
You'll assemble the rest of the wooden flowers the same way as the first.
Step Four: Putting the Bouquet Together
Here's the fun part. Now you get to build the wooden flowers you've crafted into a lovely bouquet.
Once you've added all your stems, pick up a flower and use your free hand to add other flowers. The other wood flowers should spiral out from the center one.
It would be best if you placed each flower a little lower as the spiral continues. However, raising some of the flowers higher than the next also goes a long way toward making a beautiful bouquet.
Different levels among the arrangement can add a little chaos and make your creation look more lively.
But don't squeeze the wooden plants too tightly together. The filler flowers will eliminate any empty spaces.
You can use whatever colors you want. If anything, it's advised that you add splashes of color. Your arrangement will be varied and non-uniform, which adds visual flair and interest.
Something else that adds visual interest is how you spiral the flowers. Putting different kinds of sola next to each other will increase the visual variety your arrangement has.
Step Five: Adding Filler Flowers
An adequately shaped bouquet will have negative space between the flowers. Find a spot, take a grouping of transition flowers, and slide it into the hole.
From here, you can continue to add the transitional plants wherever there are holes and gaps in the bouquet. You can stop adding greenery once you're happy with how the filler looks within the arrangement.
It's perfectly fine if you don't like the final result. You can add more filler or spread out what you've already placed inside the bouquet.
Step Six: Secure the Arrangement
If you don't want to hold the bouquet for all eternity, you have to tape it together. Take a piece of the tape you cut before and wrap it in the spot where the flowers tightly meet at the stems.
This single piece of tape isn't going to keep a good grip on the stems, though. The tape needs to be added a few inches atop and under the first one.
Loosen your grip on the arrangement to test that you've added enough tape. If the bouquet keeps its shape, it's okay. If it begins to sag around the edges, then squeeze the stems tightly and add more tape.
Step Seven: Cut the Stems
You now almost have a fabulous and elegant wooden bouquet. Almost. The top half of the arrangement may look great, but the stems probably don't look too good.
Figuring out where to cut the stems depends on how you intend to use the wood flower bouquet. If it's a wedding bouquet, hold it in your hands and remember where the bottom of your lower hand is.
If the arrangement is going inside a vase, hold it up to the container. It would be best if you cut the handle so some of the stems show above the lip of the vase.
Flowers should approximately be 2.5 times taller than the vase. An eight-inch tall bouquet should have a vase that's about three inches tall.
Next, proceed to cut your handle. Best practice dictates that you should cut the handle a little lengthier than needed.
A slightly longer handle gives you more wiggle room to ensure it's as long as you need. If the stems are still too long, cut until the length is perfect.
Step Eight: Wrapping the Handle
We're at the final step now, wrapping the handle. Lace or twine are common wrapping materials, but you're free to use anything you like.
The tape is what's holding your arrangement together. Wrapping is mainly to make the handle look good.
To add your wrapper, dot some glue in the middle of the handle. Once you've added your glue dollop, put the wrapper on top and hold it there, so it has a firm grip.
When the glue has cooled and you're sure the wrap is secure, wind the wrap material until you think it looks good. What counts as "good" is entirely up to you.
Once you're satisfied with how the wrapping looks, cut away any extra material. The final step is to add another glue dot to fasten the last bit of the remaining material.
How to Shape Wooden Flowers
Wood flowers have the distinction of being fragile and durable. The cork-like foliage can get squished or smashed during transport or if roughly mishandled.
Luckily, it's no challenge to pop sola flowers back into shape. All you'll need is a bowl and some water.
You don't want to submerge the flower until it's waterlogged. Gently dip the bud into the bowl, and you're set. A spray bottle may be a neater alternative to the bowl method.
The bottle also gives you more control over how damp the wood gets. All you have to do is spritz the petals until they're slightly wet.
Start pulling back the outer layers of the flowers first and keep going until you've peeled them all back.
We should note that you can keep some of the flowers looking like buds by leaving them unpeeled.
Freshly fluffed flowers take anywhere from 12 to 24 hours to dry. You'll need to put them on a rack of some kind, so they don't lose their newly gained shape.
Empty egg cartons can serve as cheap drying racks. Place the flowers into the cartons petal side up, and in about a day and a half, you can start building your bouquet.
Dye and Fluff
So, you're not a painter. Fair enough, but you can color your sola wood flowers while fluffing them out. The dye and fluff coloring method is very much like the earlier mentioned bowl fluffing.
Mix two parts of water and one part dye in a bowl and dip the flower in the solution. You should turn the bud into the bud so the pigment soaks into every part.
For the sake of variety, you can use different amounts of the same color dye. For example, if you have a dark red flower, use a diluted batch of dye to make a lighter shade of red.

Adding Scent
Who says wooden flowers can't smell fragrant? Adding scent to your wooden flower bouquet only takes a vial of your favorite smell and dropping some on the flower base.
As it turns out, sola wood is fantastic at diffusing scents. You can use flower arrangements for aromatherapy purposes as well as decoration.
It's easy to overdo scenting flowers, however. The smell should be subtle. You don't want to feel like you're constantly, aggressively confronted by the scent you add.
One to two drops of oil are good enough to add fragrance.
Give Wooden Flowers A Try
A wooden flower can be beautiful. Sola wood flowers are highly customizable and come with the added benefit of being longer-lasting, more accessible, and less expensive than traditional foliage.
Making a wood flower bouquet isn't the most complicated task, but it does require a lot of creativity and patience to get right.
If you don't get it right on the first try, you can always re-do the arrangement. Just remember to assemble your tools beforehand so you can get right to crafting.
Now that you know how to build bouquets, There's no limit to how you can use them!
Turn to our blog for more information if you'd like more tips, tricks, and how-to guides. We've got plenty to share about sola wood flowers.
Leave a comment