How to Create Unique Wooden Flower Arrangements for Your Next Event
It’s no shock that hosting an event helps boost your reputation and strengthens relationships with your friends, family, and community. Mixers, weddings, and school fundraisers are all events that need aesthetically pleasing decorations to encourage visitors to participate in your event. But how do you go about finding great decorations?
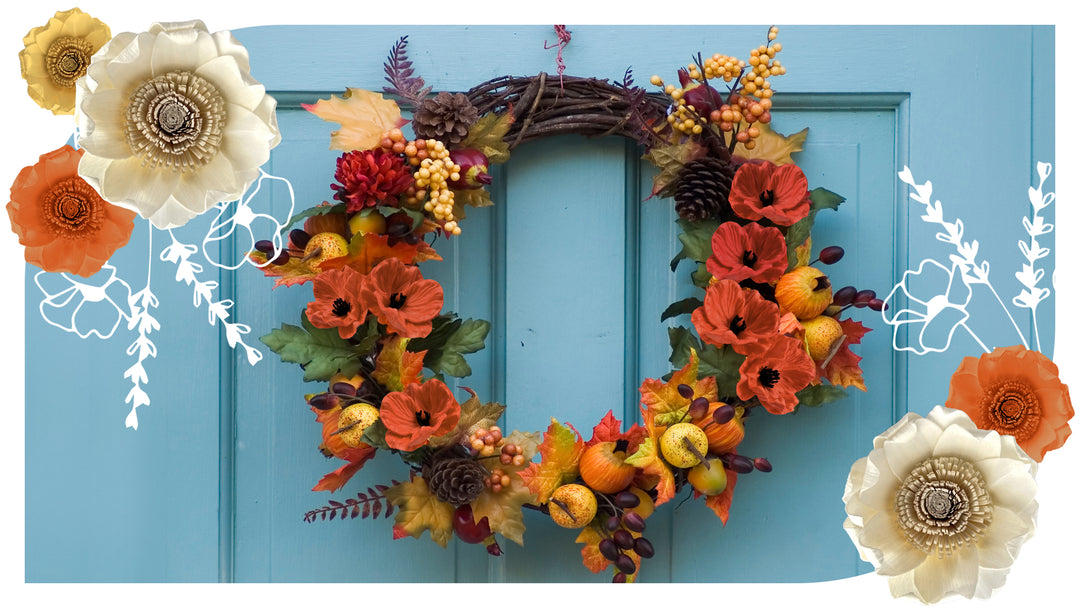
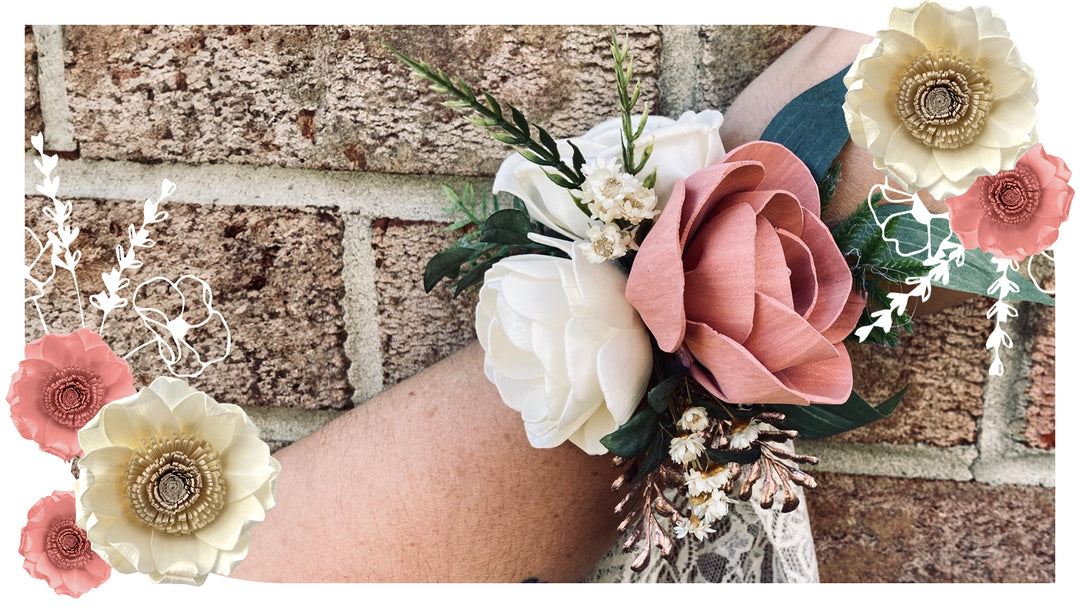
One way to dress up your event is eye-catching wooden flower arrangements. Wooden flowers, also known as sola flowers, are a sustainable alternative to fresh-cut flowers that last a lifetime. In this guide, we’ll teach you the exact steps to follow to arrange your bouquet that will stun your guests.
Ready to get started? Let’s go!
Step 1: Make a Plan
The first thing you need to do before arranging your sola flower bouquet is to create a plan. This includes types of flowers, color schemes, vases, and locations.
First, pick the types of flowers you want to include in your arrangement. There are many types of flowers for you to choose from in our premium catalog.
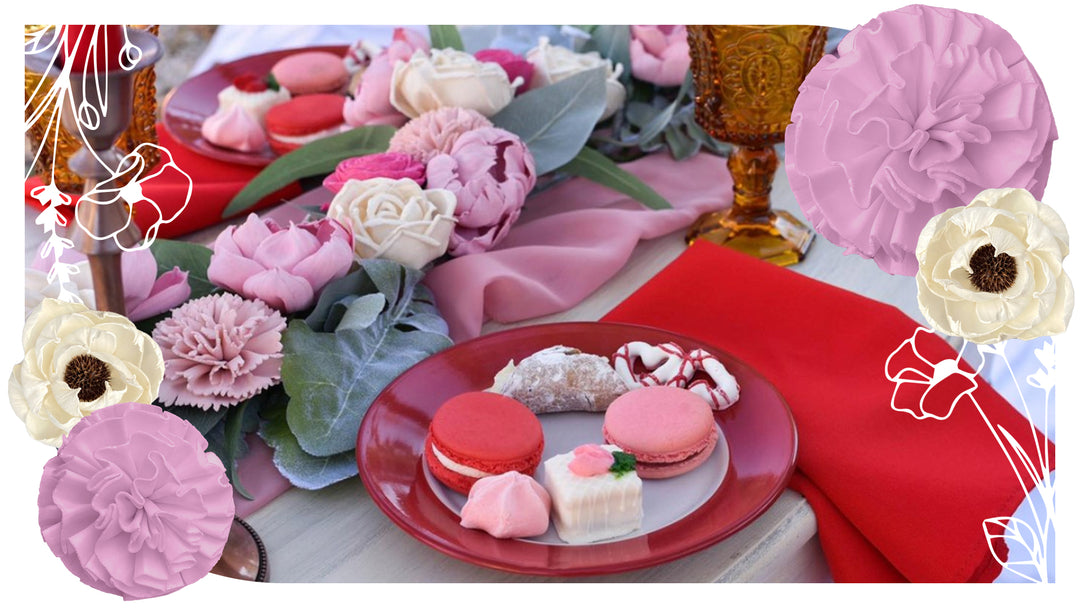
Next, choose the colors that match the overall color scheme of your event. Making a flower bouquet that accents the rest of your event decor is a great way to engage your guests. It also gives them something to talk about with other attendees they may not know very well.
Sola flowers typically come in a basic ivory color and are easily dyed to match your scheme. Some sola flowers are made with the skin of the Shola plant to give gorgeous wooden accents on the petals or throughout the piece. Determine how many flowers will need to be dyed and gather the necessary supplies to do so.
Size, shape, and color are all important factors to consider, especially if the arrangement is displayed in a busy area. Vases that are larger fit longer sola flowers, but are more likely to be knocked over in a crowded room. Your best bet is to pick vases that cater to your event space and cut your flowers to fit.
Step 2: Gather and Prep Your Tools
Now that you’ve chosen your vase and sola flower types, it’s time to gather and prep your tools. Here are the exact tools you need to bring your wooden flower arrangement ideas to life:
- Filler Flowers and Greenery
- Stems
- Hot Glue and a Glue Gun
- Floral Tape
- Handle Wrap
- Clippers
To prep your space for building the arrangement, turn on your hot glue gun and cut 3-4 pieces of tape to increments of 12 inches. Doing this before playing with flowers makes it easier to manage the bouquet as it grows bigger.
It’s also best to group your greenery and filler flowers before getting started. Filler flowers like German Statice and Floral Buttons are common transitional flowers that take up the empty space in your bouquet. Having both your tape and fillers ready to go will save you tons of time during the arrangement process.
Step 3: Glue the Stems
Now that your glue gun is hot, take your first flower and put a dab of hot glue on the base of its backside. Carefully twist the stem about 1/2 an inch into the base to avoid getting burned. Finish gluing the rest of your flowers in the same way and let them dry for a few minutes before moving on to the next step.
Step 4: Arrange the Bouquet
Now for the fun part— making your flower arrangement ideas come to life!
Take one flower, preferably the prettiest one, and hold it in one hand. Then add the other flowers around it in a slowly descending spiral. For a little extra depth, use a variety of flower types and position a few of them slightly higher than the last.
Be sure to keep the flowers compact, but with some wiggle room for the filler flowers and greenery you’ve picked out.
Step 5: Add the Fillers
A bouquet that is shaped well will have negative spaces for your filler flowers. if yours doesn’t it’s a bit too tight and you should redo the last step.
Look for these negative spaces and insert your transitional flowers. Add as many fillers as you need until you’re satisfied with the look of your bouquet. If you’re not completely in love with it, spread out some of the sola flowers and adjust the fillers until it’s perfect.
Step 6: Tape the Bouquet
Remember those 12-inch strips of tape you prepped? Good, because now is the time to tape the stems to keep everything together.
Wrap the tape where the stems closely, and tightly meet. Then place another piece of tape slightly above that one. To finish securing your bouquet, place one final strip of tape a few inches below the original tape line.
Test the tape by loosening your grip on the bouquet. The bouquet should hold its shape. If it doesn’t reapply the tape to be a bit tighter.
Step 7: Trim the Stems
How long you trim the stems depends on your vase. Generally speaking, your flowers should be 2.5 times the size of your vase. For example, a vase that’s 12 inches tall will have flowers that are 30 inches in length.
Trim the stems a bit longer at first then trim them down until they are just right.
Step 8: Wrap the Handle
The final step is to wrap the handle of your bouquet. Twine, wrapping paper, or lace are the most commonly used wrapping materials, but you’re welcome to use anything you wish.
To wrap your bouquet, add a drop of hot glue to the middle of the handle. Then place your preferred material on the glue to secure it in place. Once the glue is dry and the wrapping is secured to the handle, wrap the material around the handle until you’re satisfied with its look.
When you’re done with the wrapping, cut away the extra material and add another drop of glue to secure it.
Where to Buy Wooden Flower Arrangements
There you have it! Now you know how to create gorgeous wooden flower arrangements for your next event. Whether you’re having friends over for a mixer, throwing a baby shower, or planning an entire wedding, sola flower arrangements are the perfect decoration.
To get the best sola flower assortments, stems, and accessories, visit our sale page. We have tons of cute sola flowers on sale that you can use to make beautiful bouquets for your next event.
Leave a comment